How to update the JSLink of a Web Part via CSOM for all subsites in Office365

I had the requirement to change the JSLink for my custom list for all the subsites of a site collection. You would normally do this via PowerShell. My customer is using Office365 (what all customers should do…) and therefore are the possibilities of PowerShell limited. I found quite some examples on how to update a JSLink of a Web Part via the UI. However I wanted to update the JSLink via code. 

I started with the project Contoso.ApplyBranding.Console from the Office App Model Samples which is btw a great starting point for working with SharePoint Apps. The example I used is a console app project which has a settings.xml file in which you can add all the sites that have to be updated.

//Loop through all sites from the settings.xml

            foreach (var site in branding.Element(“sites”).Descendants(“site”))

            {

                var siteUrl = url.TrimEnd(trimChars) + “/” + site.Attribute(“url”).Value.TrimEnd(trimChars);

                using (ClientContext clientContext = new ClientContext(siteUrl))

                {

                    //Connect to the SharePoint Online site

                    clientContext.AuthenticationMode = ClientAuthenticationMode.Default;

                    clientContext.Credentials = credentials;

                    clientContext.Load(clientContext.Web);

                    clientContext.ExecuteQuery();


                    //Get the list

                    List list = clientContext.Web.Lists.GetByTitle(“Listtest”);

                    clientContext.Load(list);

                    clientContext.Load(list.Forms);

                    clientContext.ExecuteQuery();


                    //Get all the forms

                     foreach (var spForm in list.Forms)

                     {

                         //Get the edit form

                         if (spForm.ServerRelativeUrl.Contains(“EditForm.aspx”))

                         {

                            File file = clientContext.Web.GetFileByServerRelativeUrl(spForm.ServerRelativeUrl); 

                            LimitedWebPartManager wpm = file.GetLimitedWebPartManager(PersonalizationScope.Shared); 

                            clientContext.Load(wpm.WebParts, 

                            wps => wps.Include( 

                            wp => wp.WebPart.Title)); 

                            clientContext.ExecuteQuery();


                            //Set the properties for all web parts

                            foreach (WebPartDefinition wpd in wpm.WebParts) 

                            { 

                                WebPart wp = wpd.WebPart; 

                                wp.Properties[“JSLink”] = “~/sitecollection/Style Library/customer/customization.js”;

                                wpd.SaveWebPartChanges();

                                clientContext.ExecuteQuery();

                            } 

                        }

                    }

                }

            }            


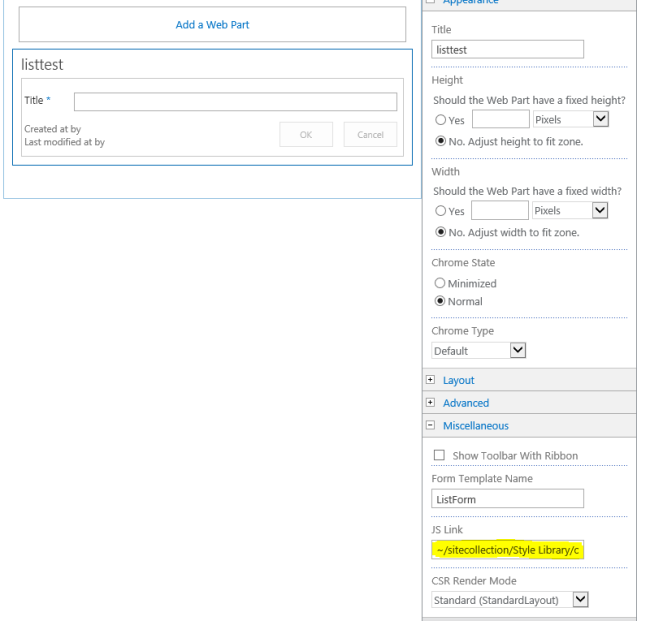
So this is the result:

Image

If you want you can of course also add your site collections to the settings.xml file and loop through them as well.

How to create custom refiners in SharePoint Online

A common requirement for SharePoint (Online) is to have custom refiners especially since search is getting more and more the preferred way of creating solutions. One reason is to be able to cross the Site Collection boundaries. This is how you configure custom refiners in SharePoint Online:

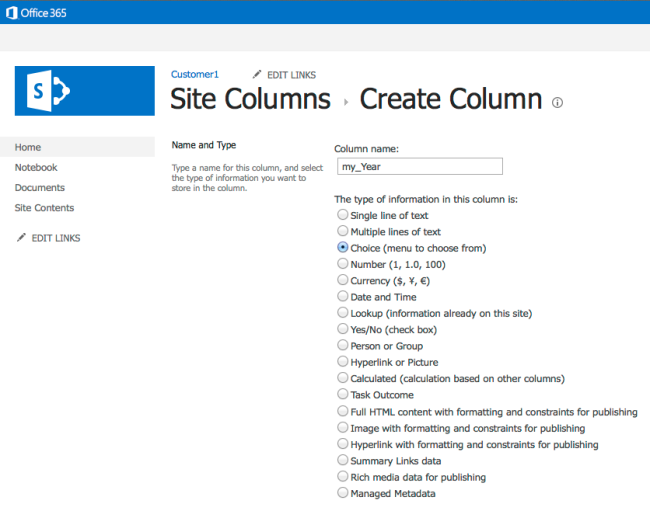
  • Create site columns. This can be done at the root site, but just as well on a subsite. Give the site columns a prefix so that they can be found more easily in the crawled properties. After they are created, they can be renamed which is more user friendly.

Image

Image

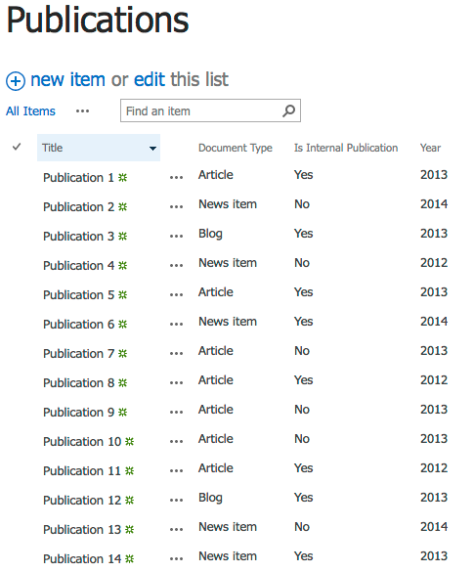
  • Create a list and add the site columns. Of course you can also first create a content type, add the columns to the content type and add that content type to the list. Be sure to add some items to the list.

Image

  • Reindex the list and the site. I am not sure if this is really needed, but it doesn’t harm the index process. The site columns need to be picked up by the crawl engine. The scheduled is planned for every 15 minutes so after that time the crawled properties should be available in the search area of SharePoint Online.
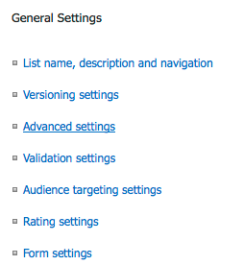
    • Go to the list settings and choose advanced settings

Image

Image

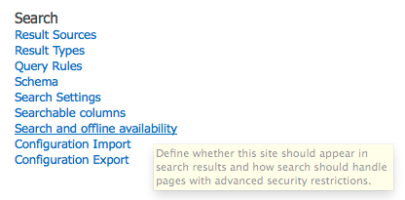
    • Go to the Site settings and choose Search and Offline availability

Image

Image

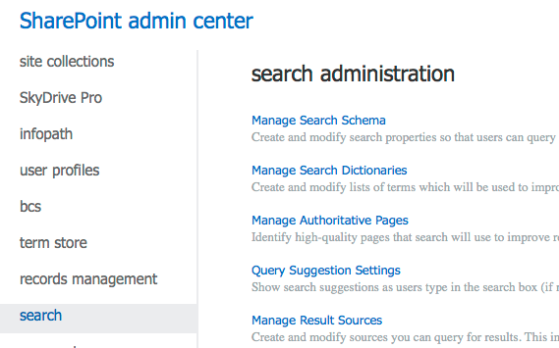
  • Go to the SharePoint admin center and select Search from the left menu. Select Manage Search Schema

Image

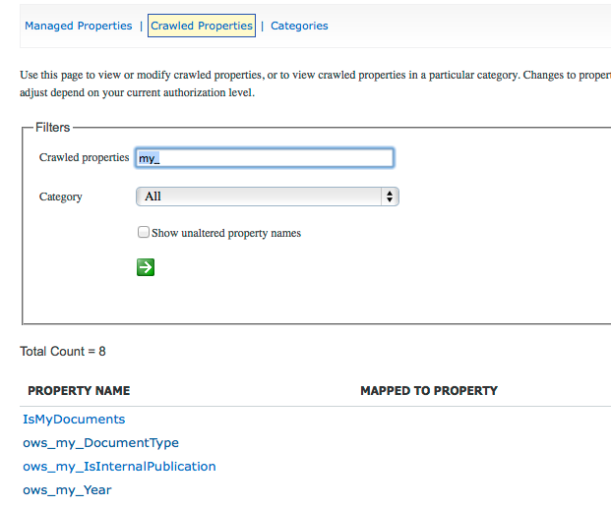
  • Select Crawled Properties and search if the site columns are already available

Image

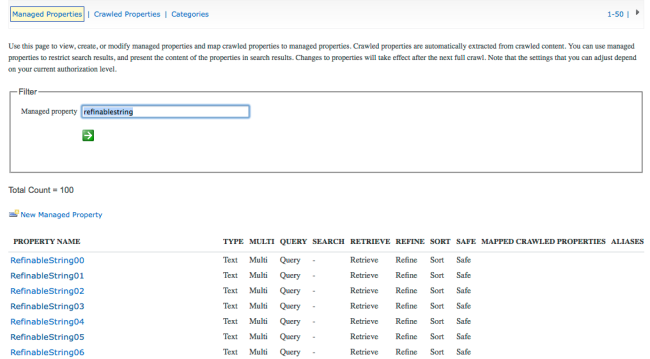
  • Go to Managed Properties and search for the first available RefinableString which is one which doesn’t have a mapped crawled property. It is not possible to set the property Refinable to Yes for a custom Managed Propery therefore you need to use one of the already created Managed Properties which start with “Refinable”.

Image

  • Map the Managed Property to the Crawled Property

Image

  • The result should look like this

Image

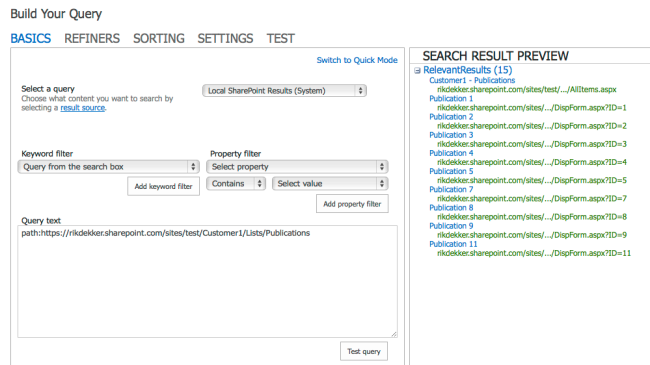
  • Create a page with a Search results web part where only the results from the list are shown.

Image

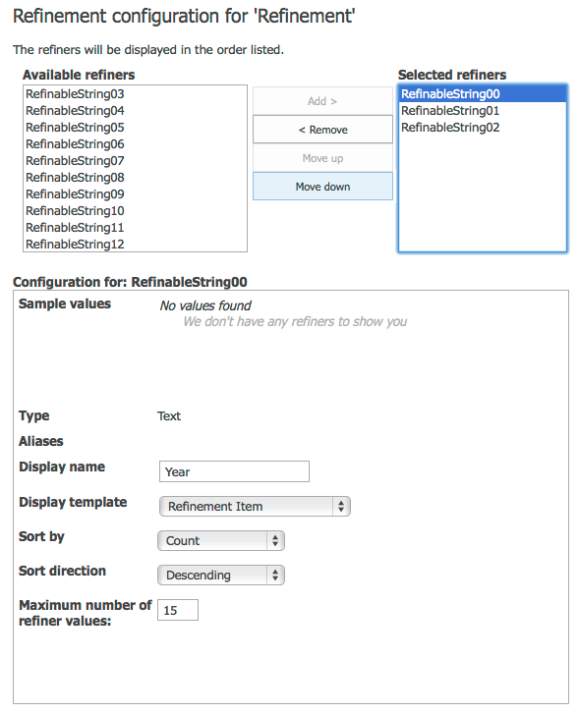
  • Add a refinement web part to the page and choose the custom refiners. Set the Display name to the name of the column in the list

Image

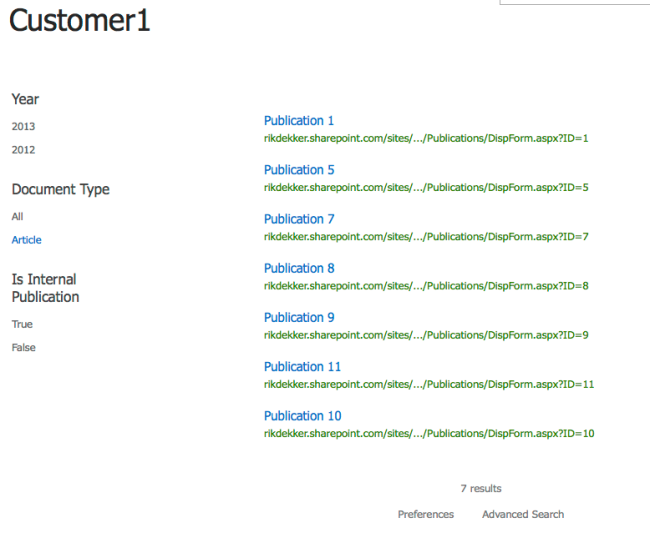
  • It can take a while (in my case about a half hour) before the refiners are visible. But it is worth the wait:

Image